

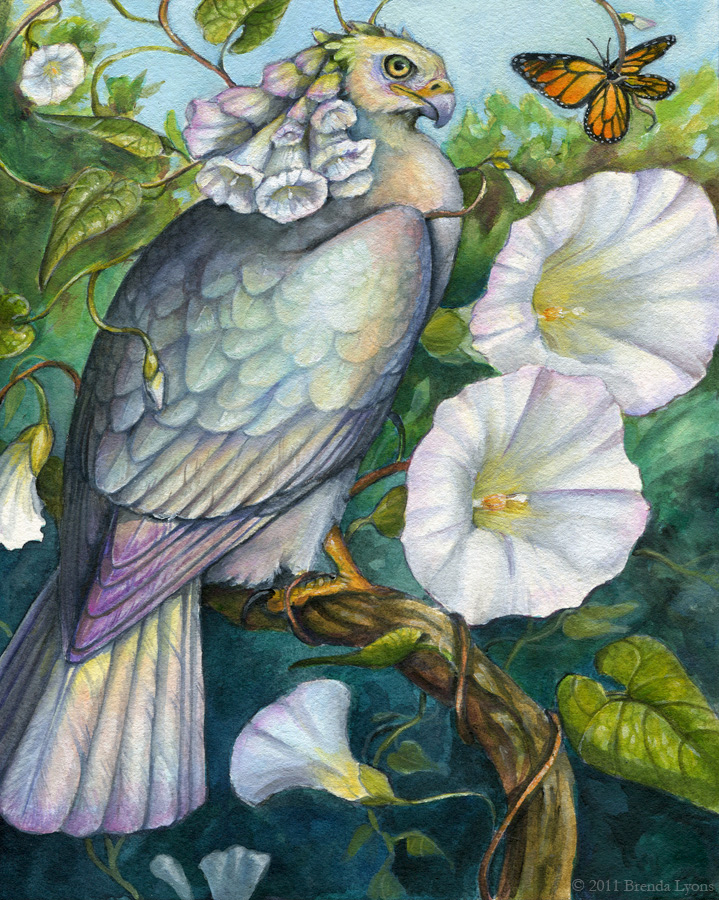
To start where I left off with the process, I experimented with color in Photoshop to see exactly how things would look before I started putting the glazes over the gray painting.

What I suspected was that the tonal painting was too gray for the glaze technique to be successful, and I was right. The way I was taught to do this technique was to create a tonal painting with a grayed color, meaning not pure gray, but grayed green, for example. As I started putting down glazes, I saw that the gray showing through beneath was not what I wanted for certain sections of the painting, particularly those with higher saturation. Therefore, I had to add a bit more opacity to what were supposed to be glazes.

Although I had to deviate from my original plan with technique, I do not consider this to be a failure of a project. On the contrary, I learned quite a bit on what to do (and what not to do), and ended up with, what I feel, is a good painting. For future paintings using this technique, I will make sure my tonal painting is not so gray. I also found, once I started putting glazes down, that the overall contrast was too dark. I ended up lightening a lot of the composition during the color phase, when it should have been light enough at the tonal stage. All in all, a good learning experience!


